- Plan, Plan, Plan!
- Measure 10+ Times, Hang Once
- Get the Right Hardware Arsenal
- Use a…Toothpaste
- Use a Ledge
- Protect Your Walls
- How to Hang Pictures in the Least Damaging Way
Decorating a home is like therapy for most homeowners. After all, you’re creating a nest where you and your loved ones will have the best moments. Everything should be perfect, having something for all ages, from a nook to relax solo to a comfy couch for movies, video and table games, and other get-togethers. Unfortunately, sooner or later comes the moment to add life to those lifeless walls, and you seem to lack expressive décor ideas. Unless you have a collection of eye-catching metal art or wow paintings, you can start with something simple.
Pictures!
At EnjoyHome, we love décor and gladly have a talk on hacks for hanging pictures to help you give a room some color without breaking a sweat.
Plan, Plan, Plan!
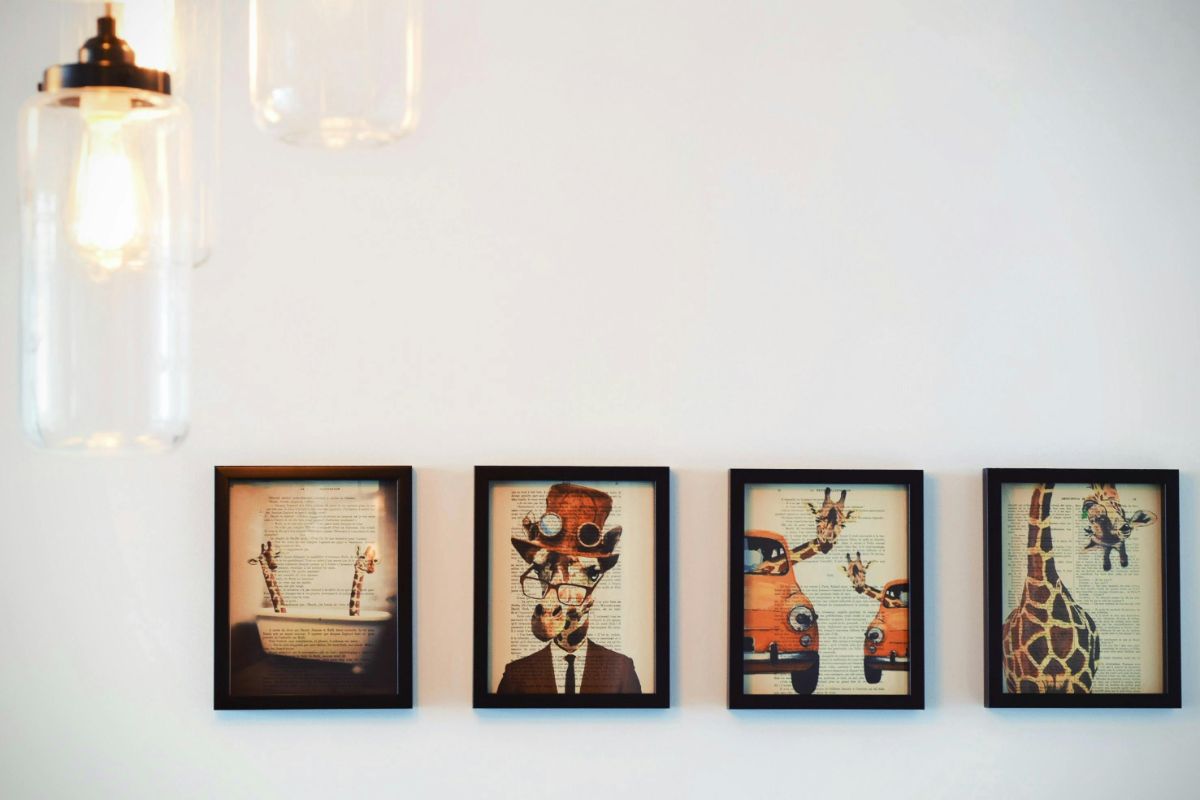
If it’s more than one piece that you’re going to mount, use one of the time-tested tricks for hanging pictures – plan a bit in advance. That’s right! Get paper cutouts of the same size or buy some painter’s tape and use them to map out where this or that picture will be positioned. The tape hack for hanging pictures is a win-win option for those who plan a gallery wall.

Photo by Blue Bird from Pexels
Measure 10+ Times, Hang Once
As funny as it may sound, inaccurate measurements may cause a poorly balanced look, and you’ll have to start things all over. Use a tape measure to clearly define the distance between pictures. Typically, the center of the item should be at eye level. Hang it 50-60 inches from the floor. In the case of gallery walls, the frames should be 2-3 inches apart.
Get the Right Hardware Arsenal
An easy picture hanging hack – consider the weight of the artwork and the wall type to understand what hardware is needed. In the case of concrete or/and brick surfaces, go for screws or masonry nails. Got a drywall to adorn? Use picture anchors or hooks if the frames are heavy. If not, purchase adhesive strips to avoid damage (see more below!). Whatever wall or frame you have to manage, always (always!) check the weight limit of the chosen hardware to avoid the big boom! in the middle of the night.
Use a…Toothpaste
No, we’re not into medicine, guys (although reiterating the fundamentals never hurts). In the case of home décor, toothpaste helps to mark the place where you’re going to mount your pictures. Just put some paste on the back of the frame and press it against the wall. The marks that you will wipe later will guide you when it’s time for the hardware to come into the scene.
Use a Ledge
At Enjoy The Wood, we know how hard it is to choose what art you’d like to display. Give them all a try! If you have a collection of pictures but don’t feel like measuring and hammering nails, install a good old ledge. Some measuring should still be done; however, it’s going to be just one ledge in contrast to loads of frames. And the best news is that you’ll be able to rotate the items whenever you feel like it.
Protect Your Walls
To protect the surfaces from marks and scratches, make sure to add some felt pads or adhesive bumpers to the back side of every piece you’re going to hang. This simple yet effective trick will prevent the works of art from shifting. At the same time, it will protect your unique wallpapers (if any) from damage. The recommendation will be useful for homeowners in the middle of gallery wall creation or handing décor on textured walls.
How to Hang Pictures in the Least Damaging Way
If you feel that using nails and screws will leave you in the ruins of what you once called ‘home,’ you can totally hand your favorite art without damaging walls. The alternative picture hanging hacks include:
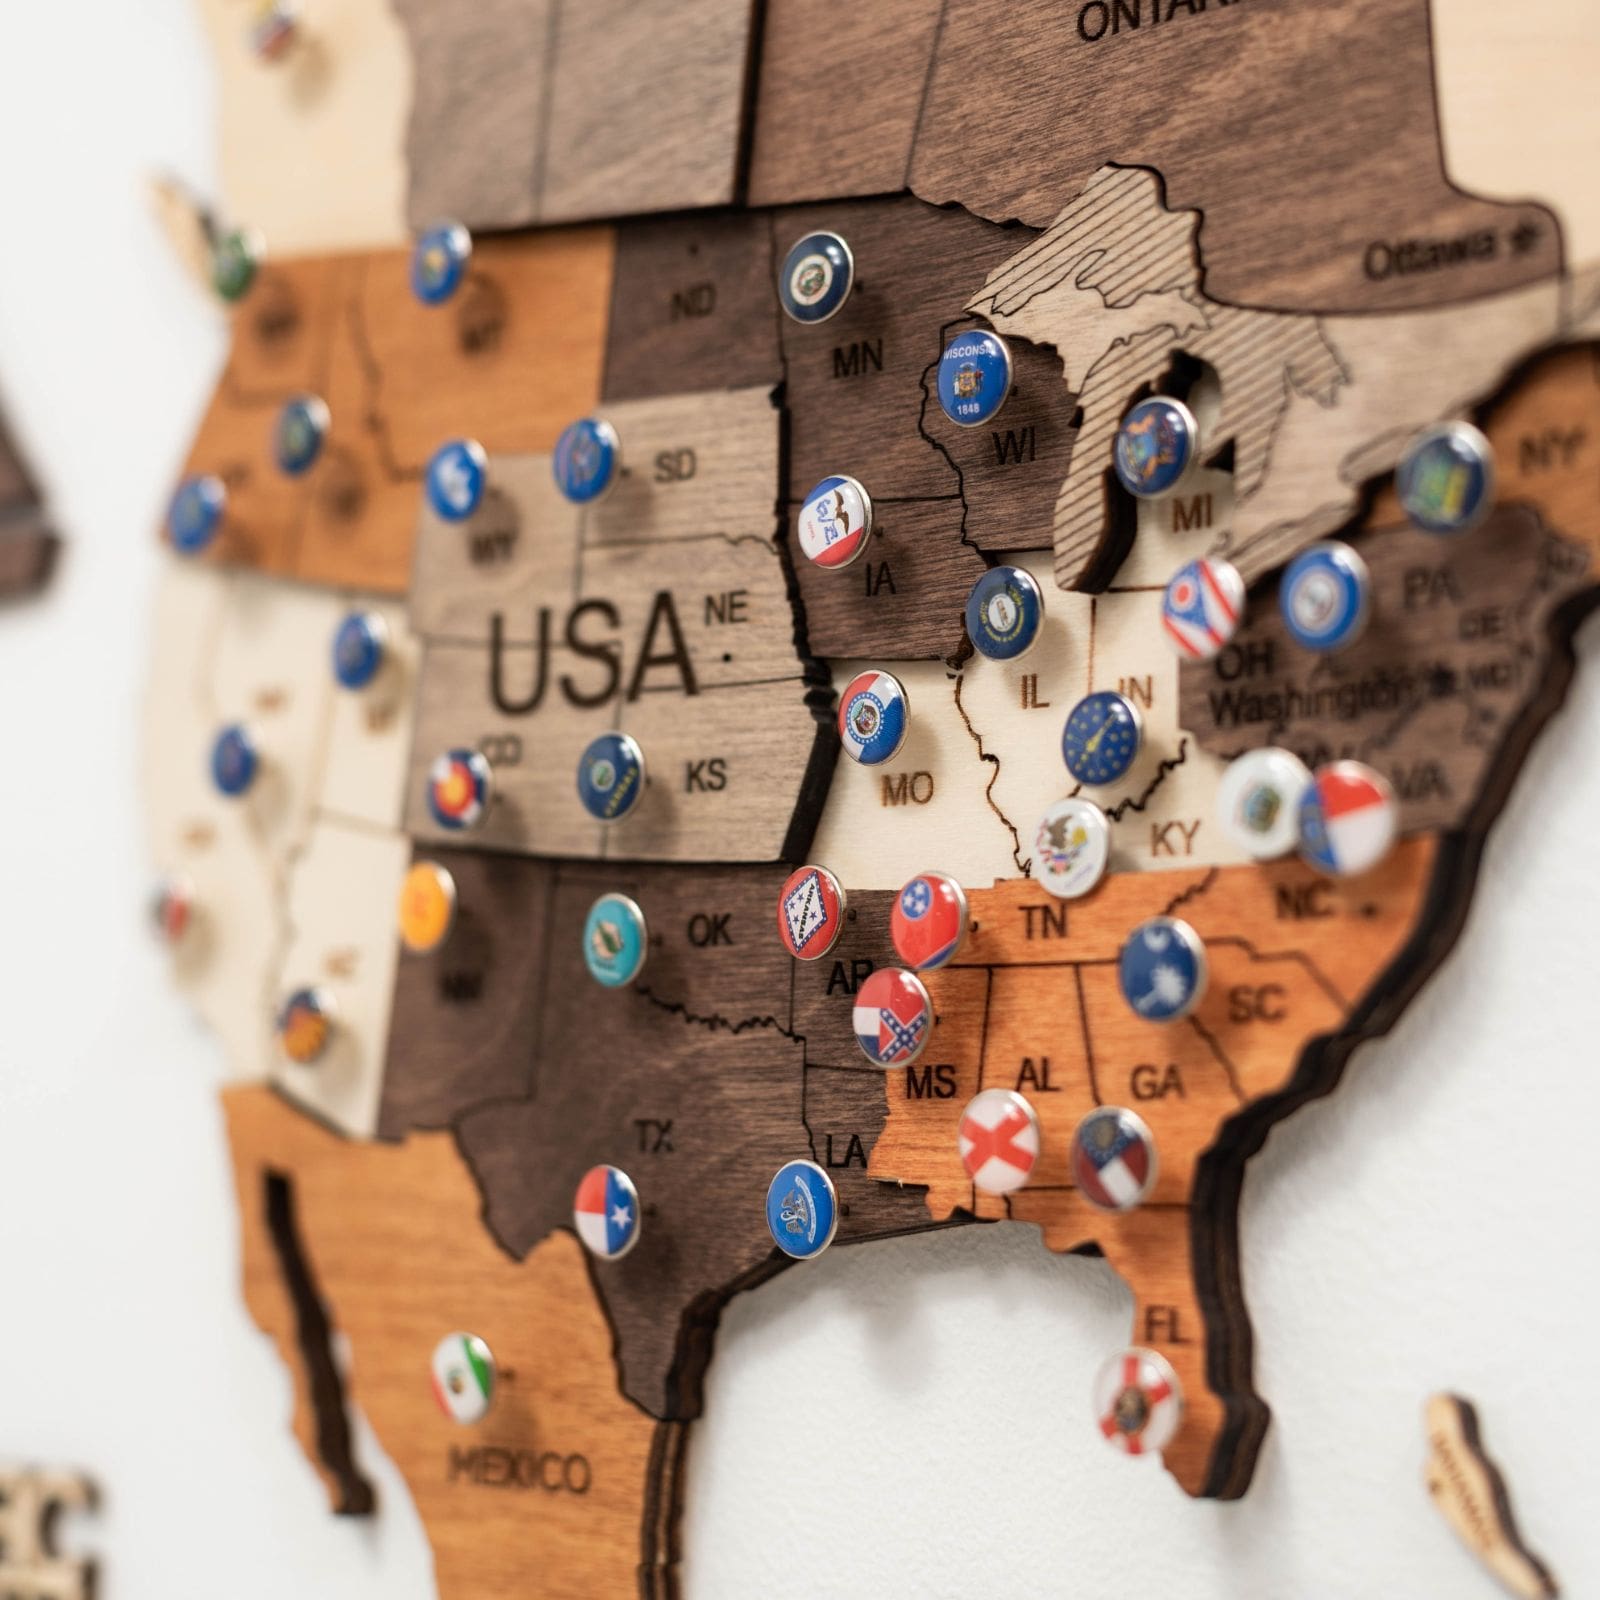
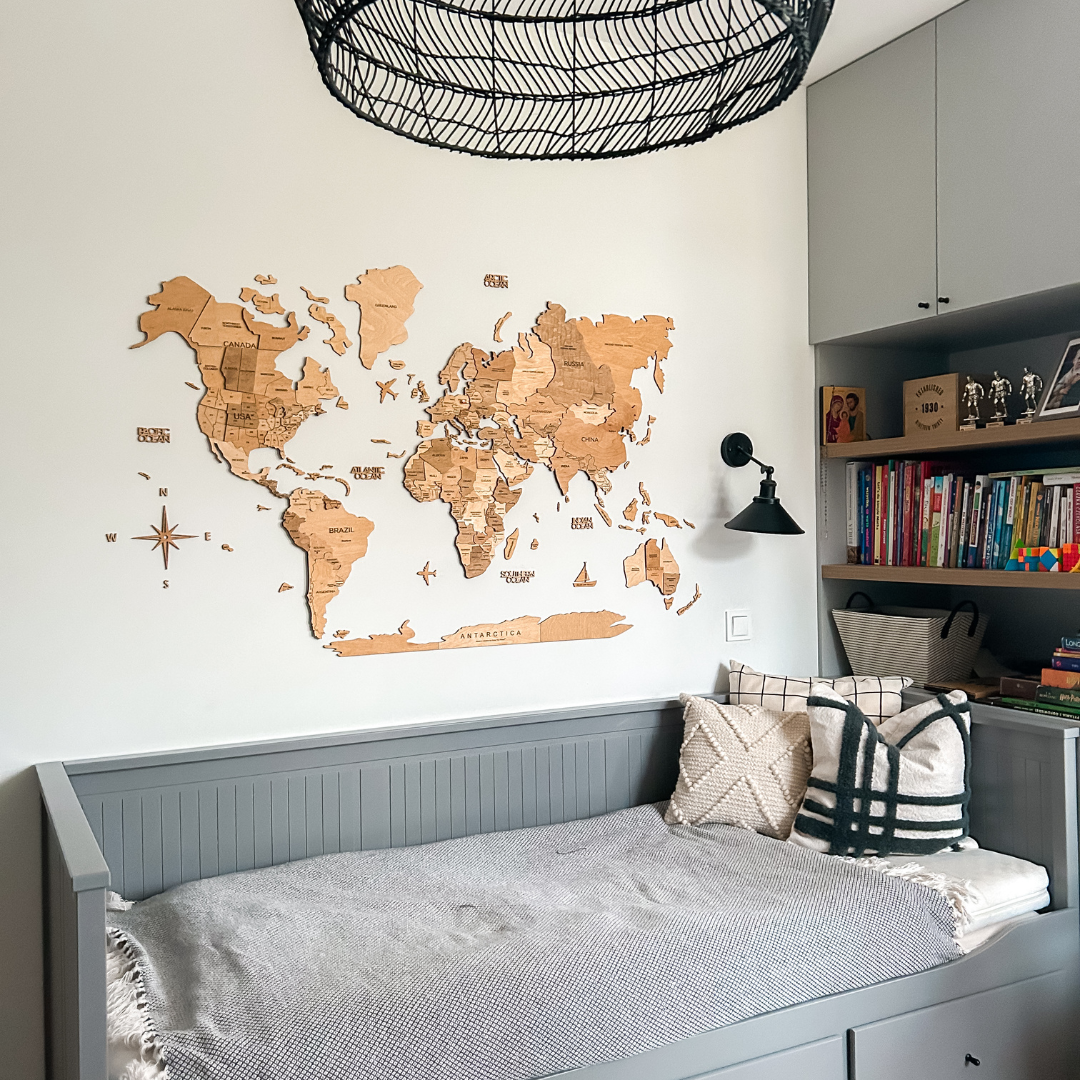
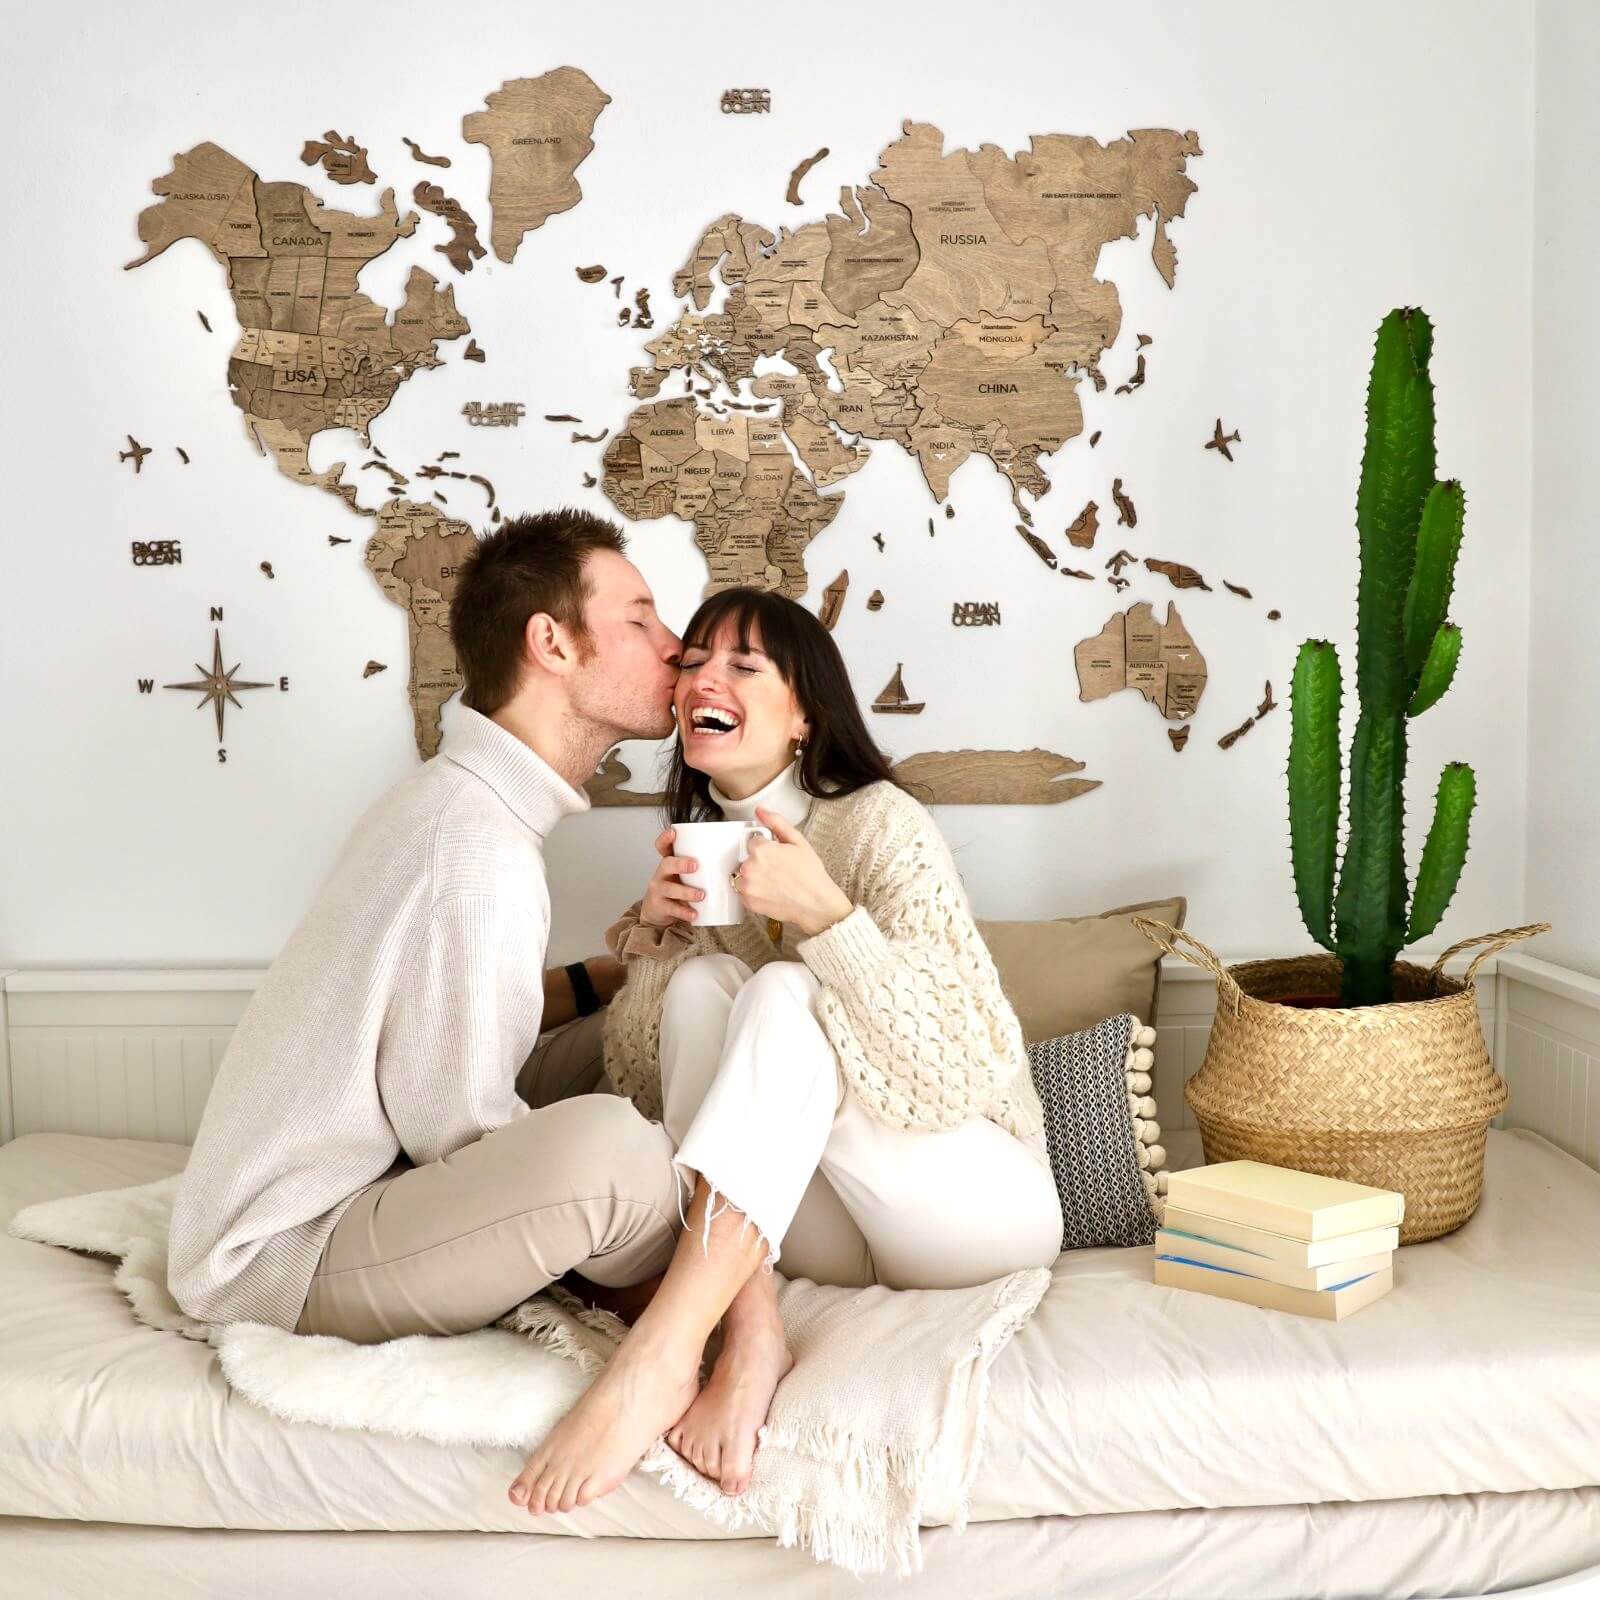
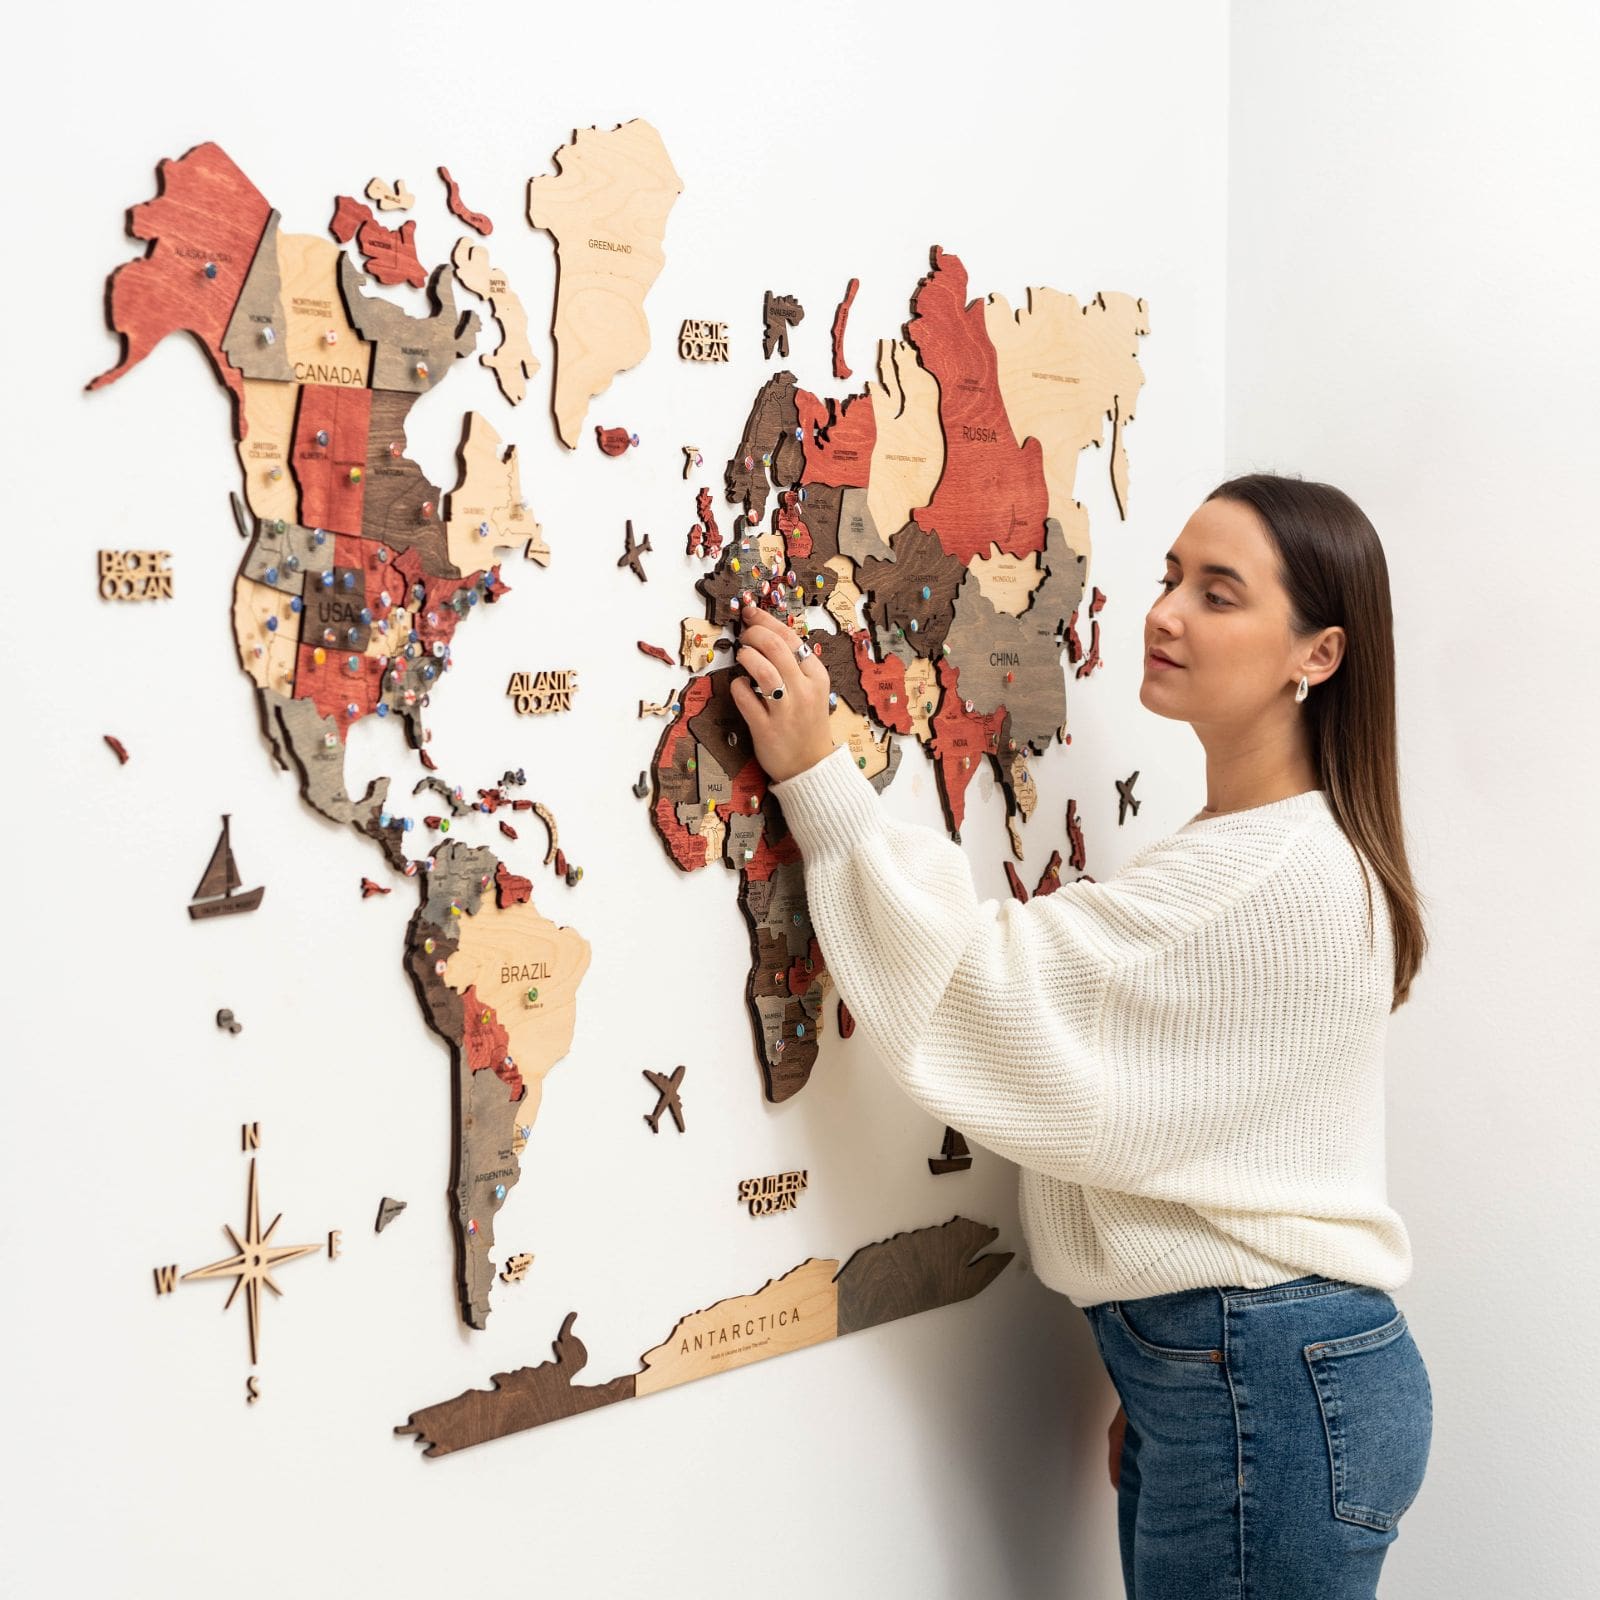
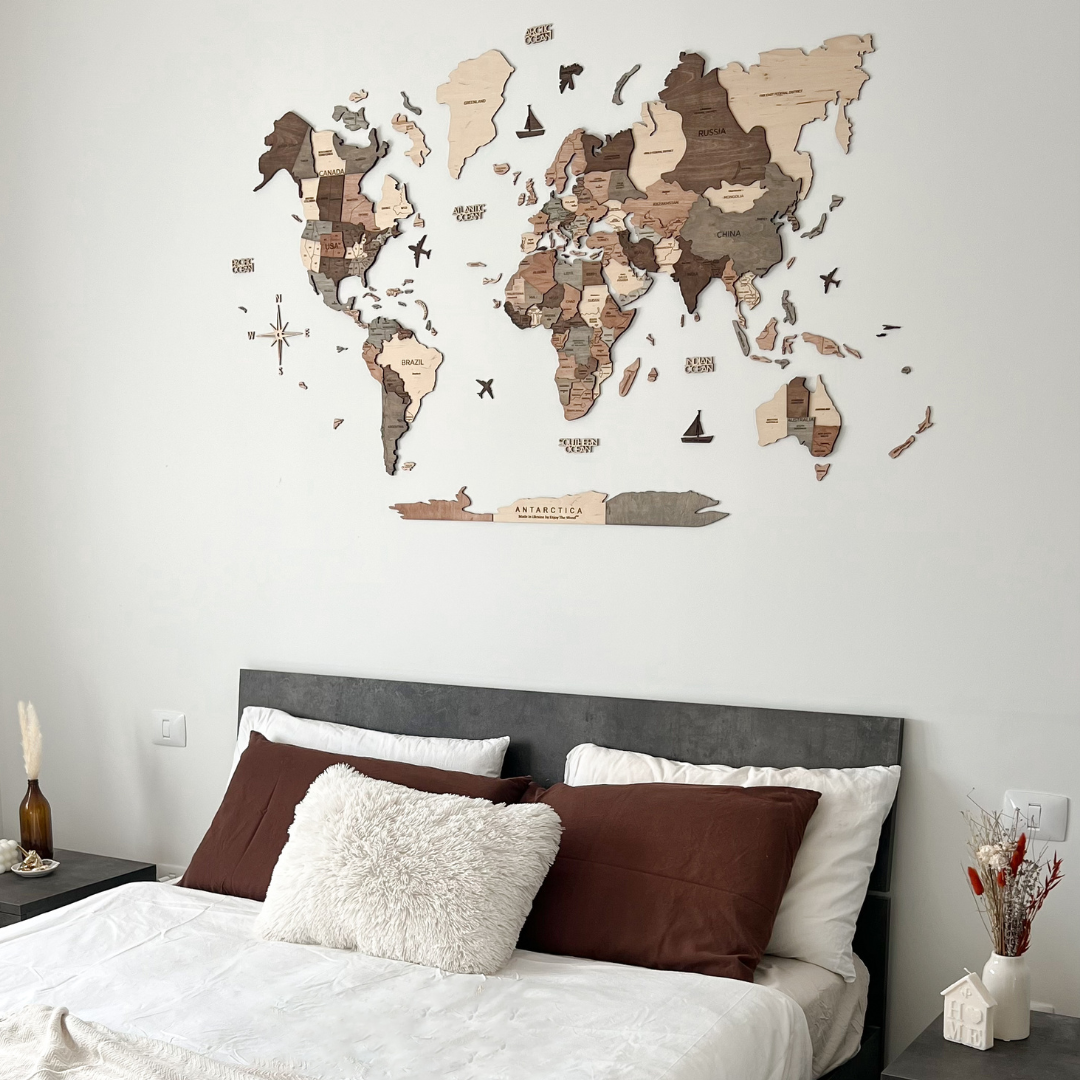
- Use mounting tape or adhesive hooks. For lightweight and small items like Wooden City Maps, watercolor paintings, or a series of Polaroid photos, use a double-sided mounting tape. It should be strong enough to hold the item. Adhesive hooks, in turn, come in different sizes and are perfect for lightweight objects. Before you use any method, clean the wall surface with rubbing alcohol.
- Apply magnetic paint. If you wonder how to hang pictures without nails or command strips, use magnetic plaint. Then use small magnets to hold posters and artwork that have light weight. We recommend this simple wall hanging hack for nurseries, kids’ bedrooms, and playrooms where the need to change the wall adornment arises frequently.
- Place a tension rod. This method works well for rented apartments since no permanent fixtures or drilling is involved. Simply place it within a window frame, doorway, or between two walls. Now, hang lightweight photos, pics, art, etc., using strings or clips.
- Give a second chance to clothing stands/racks. It's something totally non-conventional for those who think of the how to hang pictures on wall hack but don’t want to be old-fashioned. Hang pics in various heights using decorative strings, hooks, or clips. This will enable you to rearrange your space as often as you want without the need to damage the wall.
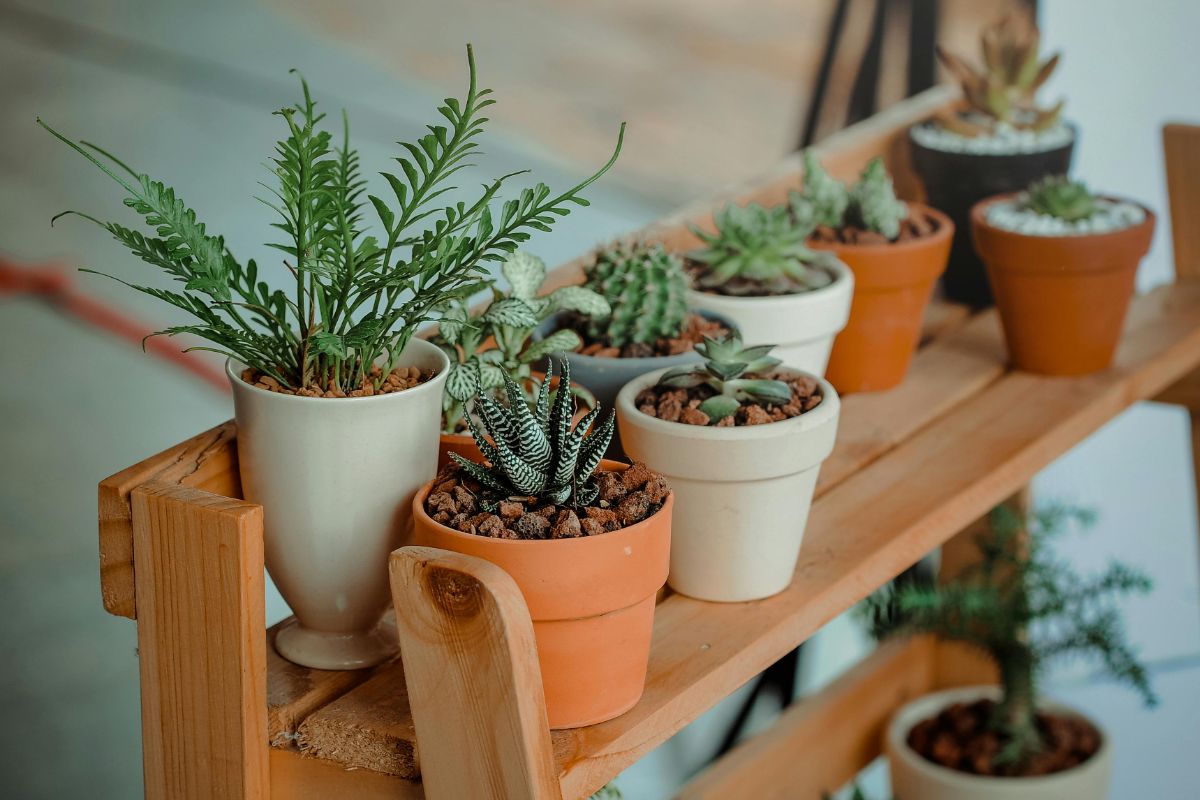
- Benefit from shelves and/or mantel. If there are a couple of shelves or a mantelpiece in a setting, lean your pictures against the wall. If you own large or medium items, this method rocks! We also recommend adding candles, greenery, and books to boost the look and create a more comfortable and welcoming ambiance.

Photo by George Milton from Pexels
Now that you’re armed with all those tips and tricks, the process of hanging a picture is going to be smooth and enjoyable. After all, you’re creating a safe and cozy haven where everything reflects your personality and speaks to you. Don’t hesitate to translate your unique interests and passions into your space! Keep in mind that wrong ideas exist as far as they showcase your values, character, and experiences.









Leave a comment
All comments are moderated before being published.
This site is protected by hCaptcha and the hCaptcha Privacy Policy and Terms of Service apply.