
 7 min
7 min 
- 1. What Do You Need: Essential Supplies for Painting a Room
- 2. Stage 1: How to Paint a Room by Clearing the Space
- 3. Stage 2: Preparing Walls for Painting Interior Walls
- 4. Stage 3: Taping and Protecting Trim for Wall Painting
- 5. Stage 4: Priming Before You Paint Interior
- 6. Stage 5: Cutting In and Painting Walls Edges
- 7. Stage 6: Applying Paint: Steps for Painting a Room Main Surfaces
- 8. Stage 7: Applying the Second Coat: How to Paint a Wall Flawlessly
- 9. Stage 8: Cleanup and Final Touches After Painting
- 10. Conclusion: Enjoying Your Freshly Painted Room
- 11. Frequently asked questions (FAQs)
At Enjoy The Wood, home reno is in our blood. Whether it’s getting a new 3D world map, painting a room, or knocking down an internal wall, we’re always ready to embark on a large home improvement project. If you’re just a beginning DIYer on a journey of updating your space, room painting is a great way to start. After all, we all have old tester pots or leftover paint from past DIY projects stashed away. So why not learn how to paint to add bursts of color to your sanctuary? Use the guide below to learn how to paint a room to show it some love.
What Do You Need: Essential Supplies for Painting a Room

Photo by Blue Bird from Pexels
Having the arsenal of correct tools makes all the difference. With the right materials for painting walls, the process gets smoother and delivers a lasting finish that doesn’t scream, “Yes, I did it myself!” That’s why, before you get the indoor paint working, you’ll want to collect all of the supplies you will need to get the job done at every step along the way. Not only will they make the task less challenging, but they’ll also prevent trips to the store (because you’ll pick up everything).
So, if you’re at the stage known as “What do I need to paint a room?”, good news. We’ve done some homework for you and compiled the shopping list for your next trip to the store. So, before you paint interior, grab the stuff below.
First comes the preparation and protection stage. Here’s a quick checklist for it:
- Sugar soap solution or a suitable specialist degreaser for cleaning the surfaces.
- Soft microfiber cloths to remove dust and residue.
- Protective drop cloths for covering floors and pieces of furniture.
- Masking tape to protect edges and trim.
- Face mask and gloves.
- Fine-grit sandpaper (120–180 grit) for smoothing surfaces.
- Ready-mixed or powdered interior filler for filling cracks, holes, and minor imperfections.
- Filling knife or putty knife to apply the filler.
When the surfaces are clean, smooth, and protected, you will need to use the other pack of tools needed to apply the coats. The options vary, but the basic kit includes:
- Interior wall paint in your chosen color and finish.
- Primer. It is usually required for the surface or color change.
- Paint rollers with a nap suitable for your wall texture.
- An angled paintbrush. This one helps cut in around corners, ceilings, windows, doors, and trim.
- A paint tray so you can load your roller evenly.
- A ladder or extension pole. Now, you can easily reach high areas, but remember the safety rules.
- Clean rags or cloths. Without them, you would drown in accidental drips and splashes.
Now, a couple of things to keep in mind when it comes to paint:
- In addition to all of the supplies listed above, ensure you have enough paint. Trust me, you don’t want to run out of it just a couple of hours into the job.
- The amount of it is based on how drastic the hue change will be and the paint quality. Have an adequate amount of it for two coats at least (a little excess is very welcome!).
- Going from dark to light? Or, perhaps, the other way around? Add some coats.
Keep in mind this: a top-quality paint means premium coverage and durability (cheapest is dearest!).
Truth is, there are a gazillion hues, and picking one is a tough battle to win. Use apps. Some of the nice tried-and-tested options are below:
- Sherwin-Williams Color Visualizer. All you need to do is upload a pic and work with desired hues.
- Benjamin Moore Personal Color Viewer. It helps map out surfaces and test palettes on your own image.
- Behr Color Visualizer. Upload the image and try on Behr colors to see how they look in your actual space.
OK, looks like it’s time to head to the store.
Stage 1: How to Paint a Room by Clearing the Space
Tools – check.
Now, it’s time to prepare the setting for the upcoming upgrade.
Actually, the easiest way to paint a room is to start with a clean and uncluttered space. Do yourself a favor – get rid of all the stuff that gets in the way. It’ll simplify the project and get you to the desired result.
- Clear the area. I started by moving as many items out of the setting as I could so the space around the walls is clear. Leaving them would simply block my work (not to mention that some pieces would be damaged by paint spills and splatter). If you can’t deal with those larger-than-life pieces of furniture, push ‘em into the center of the room. Use protective sheets to cover everything. Tape the sheet down with painter's tape. Then put a canvas drop cloth over the protective sheets so it doesn’t slide around under your feet.
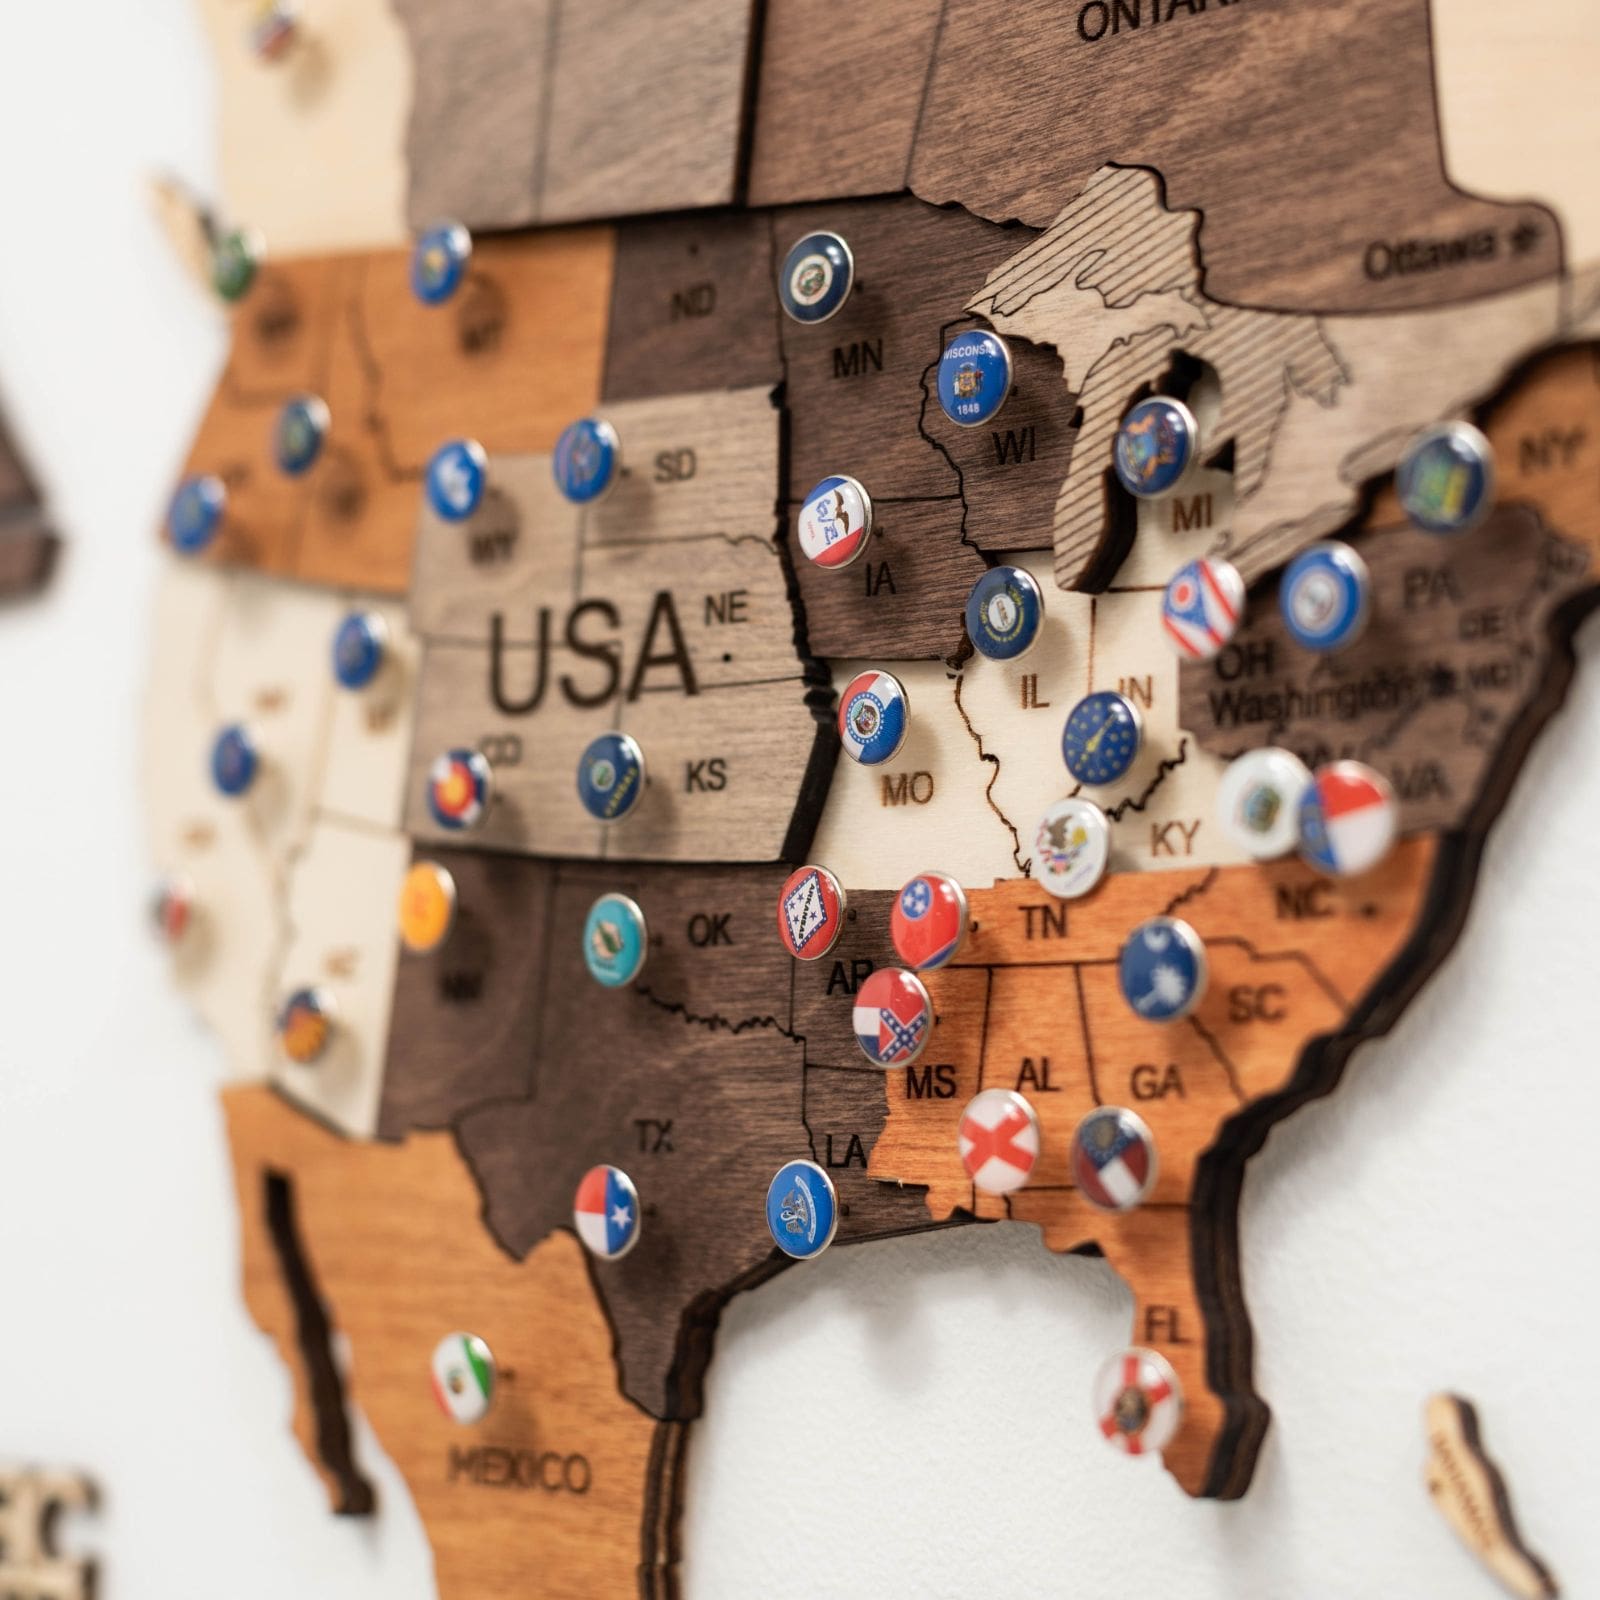
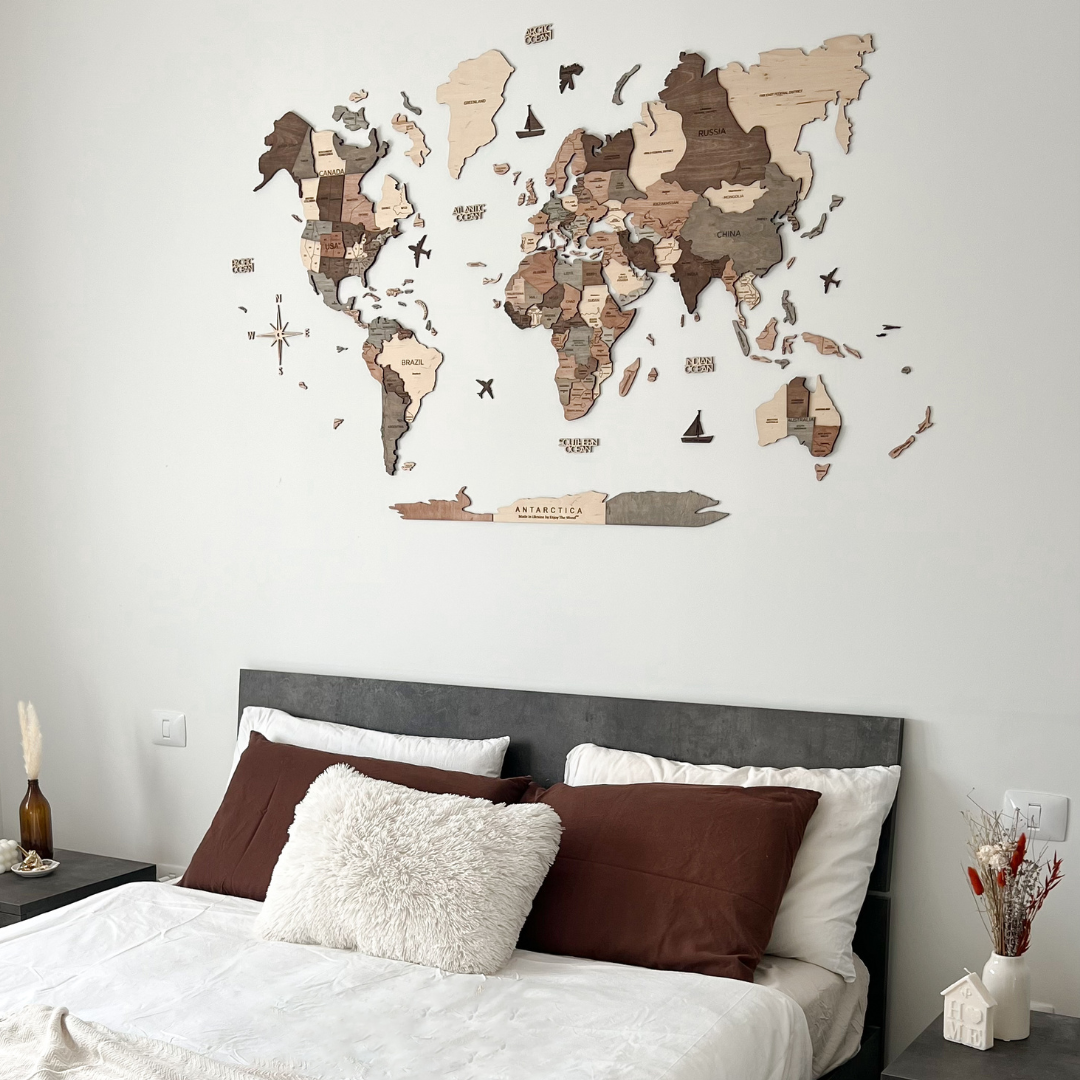
- Get everything off the walls. Shelves, décor, clocks, hooks, curtains, electrical plates – everything comes off. Be careful. If there are Decor & Accessories like a wooden world map, use a hair dryer to warm up sticky pads and peel the décor off slowly.
Pro tip before painting house: If you’re taking something off the wall that’s going to go into the exact same place (like lamps), take it off but then leave the nails there so you won’t accidentally spackle the holes.
- Cover each item from dust. Drape a light blanket/cotton bed sheet over all the items. Don’t keep them on the floor (chances are you will kick them over sooner or later). Can’t remove something? Use plastic sheeting to cover it and tape to secure.
If you wonder how to paint room as fast as possible, never skimp on prepping! Yes, it may take some time, but when it’s over, you can get the job done in a day, even if you’re a beginner DIYer.
Protecting Furniture and Flooring During House Wall Painting

Photo by Blue Bird from Pexels
Before you’re all into house wall painting, look down. It’s time to take care of the flooring and furniture. Grab the drop cloths you prepared in advance and cover the floor completely. I can say from my experience that canvas drop cloths rock. They’re durable, less slippery than plastic, and absorb small spills.
Plastic sheeting helps, too, especially when you need to cover large areas. Wrap remaining furniture in protective plastic and secure the covers so they do not shift while you work. It’s crucial to pay particular attention to high-traffic areas and walkways. That’s where paint drips are most likely to occur. If you fail to protect all exposed surfaces before painting apartment walls, paint splashes will 100% damage flooring, cabinets, and furniture that may be difficult to move or replace.
Pro tip: Never rely on old towels and sheets alone. Unfortunately, paint soaks through fabrics and reaches the floor or pieces of furniture in seconds.
Stage 2: Preparing Walls for Painting Interior Walls
The golden rule of painting walls for beginners, according to the team at EnjoyHome: Clean the walls well today to avoid headaches tomorrow.
Over time, walls collect all those fingerprints, grease, dust, and other elements, making walls uneven and paint adhesion less effective. And even if you purchase the highest-quality paint, it will not hide cracks, holes, dirt, or an uneven surface. If all those imperfections are still there, painting interior walls turns into a useless job.
Your task: wear a face mask (hi COVID times!) and gloves, and wash the walls using a damp sponge and soapy water. All the impurities should be removed to achieve a durable finish. When you’re done, allow the surface to dry smoothly. This step is a must in busy areas like hallways and kitchens. That’s where surfaces are more likely to be covered with grease and dirt.
Now, before you find out how to paint interior walls, deal with those holes or/and cracks in the wall. Patch up all of them using caulk or spackle and sand them down for a smooth, even surface.
Pro tip: When dealing with hardwood floors, it’s better to choose rosin paper. You can find it in rolls at the hardware store. Or, as an alternative, you can purchase builder's paper. It’s quite cheap.
Important Nuances: How to Repaint a Room with Existing Paint
If the setting already has a coat of paint, the question is: how to repaint a room to have a perfect finish?
Before repainting a room, find out the type of paint currently on the walls. If it’s water-based latex or acrylic, it can generally be recoated with another compatible water-based product after proper preparation.
Is it an oil-based product? Pay more attention to it, then! If you apply water-based paint directly over a glossy oil-based surface, be ready to deal with poor adhesion and peeling. To avoid that, clean and lightly sand the surface. In general, you should lightly sand glossy surfaces in order to remove the shine and create a surface the new paint can grip. Before getting the job done, always remove sanding dust.
To know how to repaint a wall like a pro, you have to learn to switch from one hue to the other correctly.
Painting over dark walls? Great. Consider this:
- Choosing a good primer is key. Pick a tinted or stain-blocking primer specifically for a dark palette. It blocks the colour underneath and seals it so that it will not bleed through. This is particularly useful when learning how to paint a bedroom with a completely new color scheme. As for the number of coats, it depends on how dark the original surface is and the quality of paint/primer. Usually, you’ll need 1-2 coats of primer and 2-3 coats of paint to cover the dark walls.
Pro tip: For rich and deep hues, it’s better to buy a grey-tinted primer. It gives great coverage when transitioning to lighter hues. Don’t go for matte finishes (they don’t usually hide dark shades completely). I’d recommend eggshell or satin for better results.
Stage 3: Taping and Protecting Trim for Wall Painting

Photo by Blue Bird from Pexels
Long story short, painter’s tape is a simple trick for making your finished project look clean and polished.
Before applying the tape and painting wall, there’s something every beginner DIYer has to know:
- Not all tapes are equal, so don’t grab whatever you see at the store. The type of painter’s tape must match the type of surface you deal with. For example, there’s a high-adhesion product that works better on rough tile, brick, and stucco. And then there’s one designed for delicate surfaces like wallpaper and recently painted walls, or fresh drywall. If you’re not careful, incorrectly chosen tape can peel paint right off the surface. Ouch!
- Apply the tape ONLY to a dry and clean surface, be it window frames, baseboards, doors, skirting boards, switches, and anything else you want to protect. Press it down firmly so nothing bleeds underneath.
- Turn off the power before removing covers for switches and outlets. If they are staying in place, carefully tape around them.
- Take your time as you tape and paint wall. And if it doesn’t feel easy at first, don’t worry. With each project, I’ll get a little better, learning new techniques along the way.
Pro tip: When the wall painting is done, remove the tape ASAP. Never leave it there for hours!
Sealing Painter's Tape for Flawless Painting Walls
Even if you purchased the right type of tape, painting walls can still end up not the way you expect simply because you fail to press the tape down firmly. Remember this: you REALLY need to seal the edge to get those perfect lines, especially around molding, trim, and where the ceiling meets the wall.
My special recommendation is to use a putty knife to press the tape down as firmly as you can. If there’s no putty knife at hand, use your credit card. Thus, you’ll create a solid bond between the wall and the tape. Never skip this step if you wonder how to paint walls with a sprayer or use a light color next to a bold one.
Pro tip: Gently apply tape with one hand, smooth as you go with the other to avoid gaps and/or bubbles.
Stage 4: Priming Before You Paint Interior
Before you can paint interior, prime the walls. Outline the windows, walls, and ceilings using a paintbrush and a strip of primer. To apply primer to the remaining surfaces, use a roller brush. As a rule, the process of interior house painting includes applying one coat of primer. However, if you believe one more coat is needed, apply it ONLY when the first one is dry.
Using primer when painting house interior is especially useful when you have to cover porous drywall or plaster, repaired areas, dramatically darker colors, or glossy surfaces. For instance, if you go from deep red or navy to white, primer is your best friend in preventing the old color from showing through.
Choosing the Right Primer for Interior Wall Painting
When picking primer for interior wall painting, think if you’re going to use an acrylic, oil-based, or alkyd primer. Before you add any materials for painting walls to your cart, look here:
- Oil-based (alkyd) primers guarantee excellent stain blocking (water stains, rust, smoke, or tannin-rich woods). These primers guarantee long-lasting adhesion in exterior/interior bare wood substrates. Alkyd products seal the residual adhesive, so I’d also recommend using it if you’ve just removed wallpaper.
- Acrylic primers offer water cleanup and easier application. Use them for almost all surfaces, including metal, wood, and laminate. However, if there’s rust, stay away from these products.
Stage 5: Cutting In and Painting Walls Edges
When engaged in painting walls, cutting in technique is something that saves the DIYer’s day. Simply put, it is used when painting the toughest areas of the setting (around windows, the ceiling line, edges of walls, corners, etc.). In other words, it’s about painting the areas where a roller simply can’t get into.
The best decision I made at this stage was investing in the best brush possible. In the wall painting process step by step cutting in technique looks like this:
- You hold the brush like it’s a pen.
- Dip roughly one-third of the bristles into the paint.
- Tap the brush against the inside of the can a few times to make sure the paint reaches the full depth of the bristles.
- Apply the paint to the surface ASAP. Now, slowly work it into the edge, holding the brush at a 45-degree angle. Use a slight arc to get into corners and tight spots. Be slow to control each stroke.
Mastering Brush Control for Painting a Wall
When painting a wall, we all want that smooth, even finish. My tips below will get you there:
- You cut in first, then ALWAYS use the roller. Work on one wall at a time rather than cutting in around the entire room before you roll.
- Keep your cut-in strip narrow. Aim for nearly 50 mm (2 in) along the edges. Thus, the roller will have enough room to get close to the edge.
- The paint must be wet! When the cutting in is done, grab the roller while the paint is fresh. Thus, all areas will blend together perfectly.
The approach is simple, and it helps prevent patchy areas and visible lines, so when you put back Bedroom Decor & Accessories, you’ll be so proud of yourself.
Stage 6: Applying Paint: Steps for Painting a Room Main Surfaces
Taking all the steps for painting a room, soon enough you’ll be ready to apply the first coat. Yay!
When cutting in is finished, take a roller and roll a large W or M shape without lifting the tool. Start near the top of the section. Do not get more paint, just go back and fill in the open spaces of your shape. It’s one of the crucial steps to painting a room. Let the first coat dry for a couple of hours. Keep in mind that both humidity and temperature of the space will influence how long you’ll have to wait until it’s dry.
Roller Techniques for the Best Way to Paint a Room
The best way to paint a room is to have the full scope of tools beforehand. To use a roller, you’ll need a roller cover, a tray, a frame, and maybe an extension pole. Below, room painting tips will help you master the right roller techniques:
- Before use, de-fuzz new roller sleeves by rinsing them with water.
- Fit the tool to the frame.
- Load the tray with a moderate amount of paint. Don’t fill it too high!
- Lightly dip the roller into the paint (ensure it covers less than half of the tool). Now, roll it back and forth across the tray ramp so the paint distributes evenly.
- When it’s the cutting-in stage, maintain a “wet edge” (you know it by now). This means keeping the edge of the painted area wet as you work. Thus, the paint applied with the brush blends well with the coat you put on the main surface.
Finally, avoid leaving a paint-loaded roller out in the open for long. Wanna take a break? My advice is to wrap the roller in plastic wrap. Clean it completely when the job is done.
Stage 7: Applying the Second Coat: How to Paint a Wall Flawlessly
When you’re done with painting a wall, let it dry before working on the second coat. The time you’ll have to wait usually depends on the product, temperature, humidity, ventilation, and surface. It’s the second coat that is often the difference between “nice” and a flawless finish. However, you have to not only know how to paint a wall, but also learn to be patient. Allow proper cure time before returning the bedroom, Living Room Decor & Accessories to the walls.
Drying Times and Coverage for Indoor Paint
There’s a difference between “dry to the touch” and “it’s time to rock that second coat!” Indoor paint may feel dry very quickly, but before you grab the roller, check the can for the product's recommended recoat time.
- Dry-to-the-touch time often happens in 30 to 60 minutes for water-based products.
- Recoat time takes longer (24 hours for oil-based and 2 to 4 hours for latex paint).
- Adding a second coat too early traps solvents or moisture. Always let the full cure when painting house.
Stage 8: Cleanup and Final Touches After Painting

Photo by Ivan S from Pexels
The painting process is done, and you can say, “I can paint my walls now, I’m good!”
Next, scrape any excess paint off the roller. If you used an acrylic- or latex-based product, put the roller cover and frame in hot water with some dish detergent added. Rinse well. If it was oil-based paint, put the tool in a small container of paint thinner. Now, scrape paint off using a putty knife.
Once the floor is dry and the setting has had some time to air out, roll up the protective floor coverings. From my experience, it’s best to wait at least 24 to 48 hours before moving furniture back. Even more: for the first week, I’d keep furniture a few inches away from the walls.
Removing Tape and Cleaning Up After Painting Interior Walls
When the stage of painting interior walls is over, pull the tape. Do it when the paint is not fully cured but just dry to the touch. If you use water-based paint, remove the tape in an hour or two. However, if you put two or more coats, remove the tape when the last coat is 100% dry to the touch.
Pro tip: Pull the tape off steadily and slowly at a 45-degree angle. Keep it close to the surface. Thus, you’ll control the process and have the desired result.
Conclusion: Enjoying Your Freshly Painted Room
Chances are you’re a beginning DIYer, wondering how to paint a room and stay sane. Good news, painting is a great start to redesign or update your space. Just stick to the basic formula for how to paint a house tested by once-beginners (like me and you): prepare, be patient, and follow the steps above. Begin to work in a clean space only, keep furniture and floor protected, prepare walls, tape the edges, prime, cut in, apply all coats, and finish by cleaning up like a pro. Done.
What do you need to paint a room if you are doing it for the first time?
For those engaged in interior room painting for the first time, it’s important to have paint, primer if required, rollers, brushes, a paint tray, painter’s tape, a drop cloth, and basic wall-prep supplies.
What are the main steps to paint a room without leaving streak marks?
The main step to take to know how to properly paint a room without obvious streaks are the following:
- Prepping the walls
- Protecting the area
- Cutting in the edges
- Applying the first coat (keeping a wet edge)
- Waiting until it’s dry
- Applying the second coat
How long does it usually take when you are repainting a room from start to finish?
The timeframes usually depend on the size of the room. If you’re painting room that is average-sized (3m × 4m), the process usually takes 1–3 days with proper preparation. Be ready for about 6 to 16 hours of active work and drying time.
Can I skip priming if the walls are already in good condition?
Yes, sometimes when repainting a room, you can skip priming. If the walls are clean, smooth, and already have a compatible finish, you may not need to apply primer. However, primer is useful for stains, repairs, or major color changes.
















Leave a comment
All comments are moderated before being published.
This site is protected by hCaptcha and the hCaptcha Privacy Policy and Terms of Service apply.